
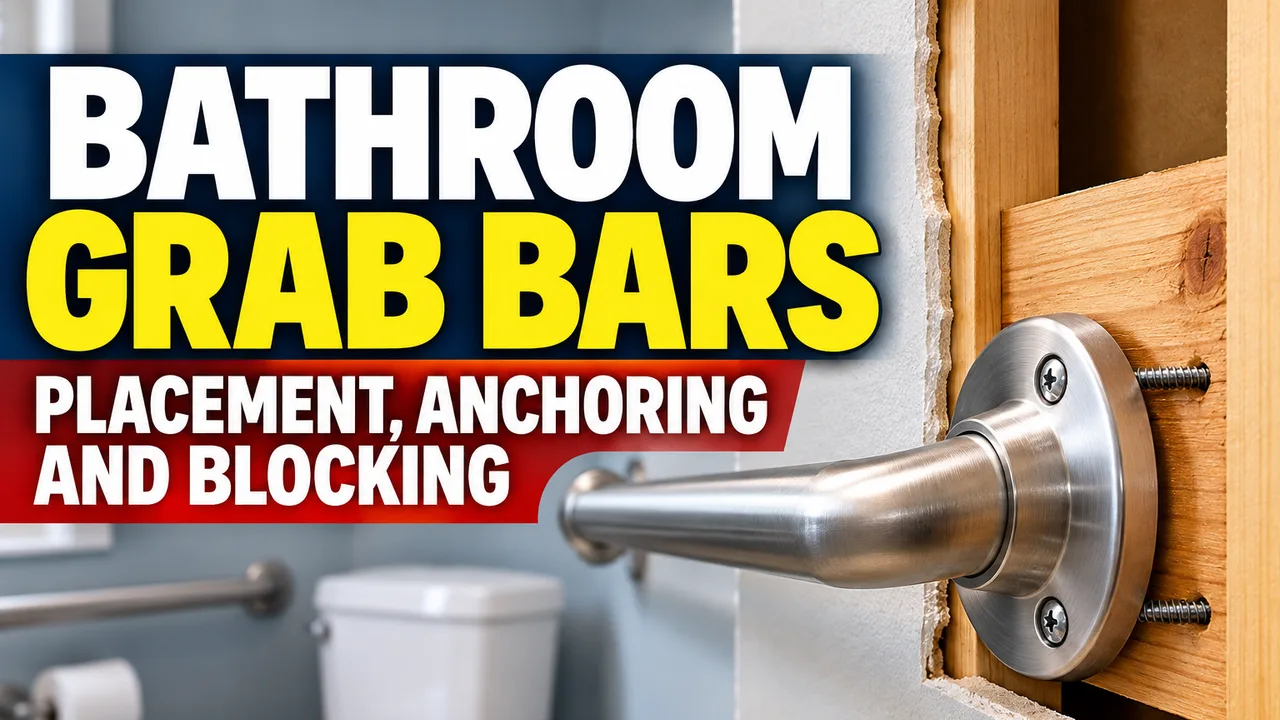
A grab bar is only as strong as what is behind the wall. The bar you can see, shiny and well placed, does nothing if its screws are holding onto half an inch of drywall. The best grab bar installation starts before the wall is closed: solid wood blocking, set at the right height, with a written record of exactly where it is.
This article covers where grab bars belong in a bathroom, how each anchoring method compares, why solid wood blocking is the gold standard, and how to document the blocking so the next person who drills into that wall finds it. For a shorter overview of which bars most people need, see What grab bars do I actually need in the bathroom?
Why this matters
The bathroom is where falls at home tend to happen. A CDC study counted about 234,000 emergency room visits in one year for bathroom injuries among people 15 and older. About 81 percent were falls, and roughly two-thirds happened at the tub or shower. Injury rates were highest in people 85 and older.
When someone slips, they grab the nearest thing. If that is a grab bar anchored into framing, it holds. If it is a bar held by plastic drywall anchors, a towel bar or a shower door, it can tear out of the wall at the worst possible moment, and a person who trusted it falls harder than one who never had it.
Placement: where the bars go
The 2010 ADA Standards set grab bar rules for public and commercial restrooms. They do not govern a private home, but they are the best published reference for size and position, and a good starting point for a home plan.
| Location | ADA reference placement | What it is for at home |
|---|---|---|
| Toilet, side wall | Bar 42 in long minimum, starting 12 in maximum from the rear wall and extending 54 in minimum in front of the toilet | Pushing up to stand and lowering to sit |
| Toilet, rear wall | Bar 36 in long minimum, extending at least 12 in on one side of the toilet centerline and 24 in on the other | Extra support for weaker users; often optional at home |
| Tub, back wall | Two parallel bars about 24 in long: one at 33 to 36 in, a lower one 8 to 10 in above the tub rim | Sitting, standing and reaching from inside the tub |
| Tub, control (faucet) end | Bar about 24 in long at the front edge of the tub | Steadying while turning and stepping in |
| Tub, head end | Bar about 12 in long near the front edge | Support at the far end |
| Transfer shower (36 x 36 in) | Bars on the wall opposite the seat and on the back wall | Transferring to and from the shower seat |
| Shower or tub entry | Not an ADA requirement | A vertical bar at the entry for stepping over the tub wall or curb; the bar I recommend most often |
The same rules apply to every bar:
- Height: 33 to 36 in above the floor, measured to the top of the gripping surface (except the lower tub bar)
- Diameter: 1 1/4 to 2 in for round bars
- Wall clearance: exactly 1 1/2 in between the bar and the wall, so a hand or forearm cannot get trapped
- Clear space: nothing projecting within 12 in above the bar
- Strength: the bar, fasteners, mounting and supporting structure must withstand 250 lb of force at any point, in any direction
Why a home plan starts with the person
A public restroom has to work for everyone. A home bathroom has to work for the people who live there. A tall person who pulls up from the toilet may need the bar higher and farther forward. A shorter person who pushes down needs it lower. Someone with a weak right side needs the bar on the left. A person who sits on a tub bench needs bars they can reach while seated.
That is why I watch the person move before I specify a single bar: how they stand from the toilet, step into the tub, turn in the shower and reach for support. Then each bar gets a length, orientation, height and position written down for the installer. It is also why the wall behind the bar should be ready for more than one possible position. That is where blocking comes in.
Anchoring options, from best to worst
Every grab bar has two or three mounting flanges, each held by screws. The question is what those screws bite into.
| Rank | Method | How it holds | When it fits |
|---|---|---|---|
| 1 | Solid wood blocking | Every screw goes into solid lumber fastened between the studs | New construction or any renovation that opens the wall |
| 2 | Continuous plywood backing | Screws go into a plywood sheet fastened across the studs behind the finished wall | Renovation where you want the most flexibility in bar position |
| 3 | Wall studs | Screws go into the edge of a wood stud | Existing walls, but only when the studs line up with where the bar is needed |
| 4 | Grab bar anchors rated for the wall | A heavy-duty anchor, rated by its manufacturer for grab bars and that wall type, spreads the load behind the wall | Existing finished walls where a stud is not in the right place |
| 5 | Plastic drywall anchors or toggle bolts not rated for grab bars | Grip the back of the drywall | Never for a grab bar |
| 6 | Suction cups | Press against tile or glass | Never for holding body weight |
Why studs are not enough on their own
Studs are usually 16 in apart, but the right bar position rarely matches the framing. A 24 in bar can catch two studs. A bar on a vertical line at the tub entry may land between them. A 42 in toilet bar has to start within 12 in of the rear wall, and the stud may be in the wrong place. Installers end up moving the bar to fit the studs instead of the person, or putting one end into a stud and the other into an anchor. Either way, the person loses.
Tile, fiberglass and acrylic surrounds
These need extra care. Tile must be drilled with the right bit and sealed so water does not get behind it. Many one-piece fiberglass and acrylic tub surrounds have a gap between the shell and the wall framing, so a screw can crack the shell or pull through it. Some manufacturers make surrounds with built-in backing for grab bars. If the surround has no backing and nothing solid is behind it, the safe options are blocking during a remodel or a mounting system made for that surround.
The gold standard: solid wood blocking
Solid wood blocking is lumber, usually 2x6, 2x8 or 2x10, cut to fit between the studs and fastened to them, flush with the face of the framing, before drywall or cement board goes up. Once it is in, a grab bar can be screwed in anywhere across the blocked area, at whatever height and angle the person needs, with every screw in solid wood.
Blocking is the gold standard for three reasons:
- Strength. Every screw holds in solid lumber that is tied into the framing. That is how a bar meets the 250 lb standard reliably, at every flange.
- Freedom of placement. The bar goes where the person needs it, not where a stud happens to be.
- Future-proofing. A bar can be added, moved or replaced years later without opening the wall.
The standards recognize this. The ADA Standards let grab bars in dwelling units be installed later as long as the walls are properly reinforced for them. The Fair Housing Act requires reinforcement in the bathroom walls of covered multifamily units built for first occupancy after March 13, 1991, so grab bars can be added when needed.
When to install it
The only time blocking is cheap is when the wall is open. That means new construction, a bathroom remodel, a tub-to-shower conversion, or any repair that removes drywall or tile. If the wall is coming down anyway, block it, even if no one in the house needs a grab bar today. It is a small cost during framing and a large one later.
Where to block: my recommendation
These zones go beyond the ADA minimums on purpose, so the bar can be placed for the person rather than a code drawing. Heights are measured from the finished floor.
| Area | Blocking zone |
|---|---|
| Toilet, side wall | Horizontal band about 30 to 40 in high, from the rear wall corner to at least 54 in out |
| Toilet, rear wall | Horizontal band about 30 to 40 in high, the full width behind the toilet |
| Tub, back wall | Full length of the tub, from about 6 in above the rim up to about 40 in above the floor, covering both the upper bar and the lower bar 8 to 10 in above the rim |
| Tub and shower, entry edge | Vertical band about 16 in wide at the entry, from about 30 in up to about 72 in, for a vertical bar |
| Tub, control and head end walls | Band from the tub rim to about 40 in high, from the front edge of the tub back at least 24 in |
| Shower, all walls | Horizontal band about 30 to 40 in high on every wall, plus the seat wall at seat height if a fold-down seat may be added |
| Beside the vanity or doorway | Optional band where a person may reach for support, often the spot where people grab a towel bar today |
A few details I ask installers to follow:
- Use straight, dry lumber, fastened securely to the studs at each end, flush with the stud face so the wall finish lies flat
- Where a bar may land on a vertical line, add vertical blocking or a wider band
- Keep plumbing supply lines, drains and valves out of the blocking zone where possible, and note exactly where they are
- On wide areas, continuous 3/4 in plywood fastened across the studs is a good alternative that gives the same freedom of placement
Florida homes with concrete block walls
Many Tampa Bay homes have bathrooms on an exterior wall of concrete block, with furring strips and drywall over it. Wood blocking is not used there in the same way. A bar on a block wall is anchored into the masonry with fasteners rated for it, and the hollow cells in block are weaker than the solid webs. During a remodel, ask the contractor how the bar locations will get a solid anchor, and document the answer the same way.
Document the blocking, or it is lost
Blocking that no one can find is almost as bad as no blocking. Once the drywall and tile go up, it is invisible. Five years later, a new owner, a handyman or a family member installing a bar after a fall has no idea where it is. They guess, miss, and fall back on drywall anchors. The documentation is what turns blocking into a lasting feature of the house.
What to record
Before the wall is closed, capture:
- Photos of every open wall. Shoot each wall straight on, with a tape measure stretched across it and another running up from the floor, so the numbers are readable in the picture.
- Measurements from fixed points. For each block, record the distance from a corner or the toilet centerline, and the top and bottom heights from the finished floor. Note whether the floor height is to the subfloor or the finished floor, since tile can add an inch or more.
- Plumbing and wiring. Mark supply lines, drains, shower valves and any electrical runs, so no one drills into them.
- Materials. Lumber size, plywood thickness and how it was fastened.
- Who and when. Contractor name, date and permit number if there was one.
Turn it into a blocking map
Put it on one page per bathroom: a simple drawing of each wall with the blocked zones shaded and dimensioned, the plumbing marked, and the photos attached. A simple sketch is enough if the measurements are clear.
Keep it with the house
- Keep a printed copy with the home's important papers, and a digital copy with the photos in cloud storage
- Tape a copy inside the vanity door or the access panel behind the tub, where an installer will look
- Give a copy to family members who help with the house
- Pass it to the buyer if the home is sold; it is a selling point for an accessible home
Already closed the wall without a record?
A stud finder will locate studs but often cannot tell blocking from a stud or a pipe. A small inspection hole in a spot the bar flange will cover, or a check from behind through a closet or access panel, can confirm what is there before drilling. If nothing solid is found, use anchors rated for grab bars and that wall type.
Installation and inspection checklist
Use this when a bar goes in, and once a year after that.
Before installing
- Bar position is set for the person who will use it, not just copied from a kit or a code drawing
- Every screw location lands in blocking, plywood backing, a stud, or a rated anchor for that wall type
- Plumbing and wiring locations are confirmed clear
- Bar is rated by its manufacturer to hold body weight, 1 1/4 to 2 in in diameter, with a textured or knurled grip for wet hands
After installing
- Bar is 1 1/2 in from the wall and nothing projects within 12 in above it
- Tile and surround penetrations are sealed against water
- A firm pull and push in every direction produces no movement, flex or creaking
- The blocking map is updated with the new bar location
Every year
- No loose flanges, turning bars, cracked tile or caulk gaps at the screws
- The bars still fit the person; needs change after a surgery, a stroke or a new mobility aid
How we help
I specify grab bars the way I learned to as a VA Home Safety Coordinator: watch the person move first, then write down exactly what goes where. A Home Safety Visit includes a clinical look at how the person uses the bathroom, a photo report and a prioritized hazard list. For a remodel, our Contractor Consultation gives your builder a written specification for each bar and each blocking zone, with no health information in it. Ask your contractor to photograph and measure the blocking before the wall is closed. After the work, a Build Verify Visit checks that the finished bars match the specification.
We do not sell or install equipment or construction, so our specifications stay neutral. Every service starts with an Initial Consultation, a 30-minute phone call.
The blocking zones in this article are my clinical recommendation, not a code requirement. Local building codes and the bar manufacturer's instructions govern installation.
Sources
- U.S. Access Board. Guide to the ADA Standards, Chapter 6: Toilet Rooms
- U.S. Access Board. Guide to the ADA Standards, Chapter 6: Bathing Rooms
- equalhousing.org. Fair Housing Act accessibility fact sheet
- Centers for Disease Control and Prevention. MMWR: Nonfatal bathroom injuries among persons aged 15 and older, United States, 2008